Showing posts with label Tutorial. Show all posts

Friday, September 16, 2011

NOTD + Tutorial - Basketcase nails


Hey Dolls, 


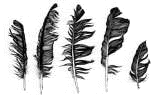
You may or may not already know I am completely obsessed with WAH nails. As usual I was browsing the WAH site for inspiration and came across this pattern called 'basketcase' and had to try it. If you are bored and want nail inspiration I definitely suggest you check it out, they have amazing designs. Come to Australia WAH!

The original pictures I saw were in black and white but I decided to use pinky purpley colours. This would looks amazing in any colours, black and gold is my what I'm thinking next time. As usual my attempt is a bit dodgey and needs work but I love it! The design was relatively easy although as usual my right hand is not quite perfect. Hope that you like it!


Here is a step by step tutorial on how to get this pattern...


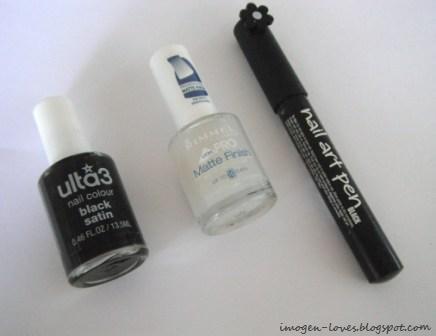
All you need two colours. A base colour and a colour for the stripes. You can either use a nail art polish or pen or alternatively you can buy a fine paintbrush and use any nail polish.
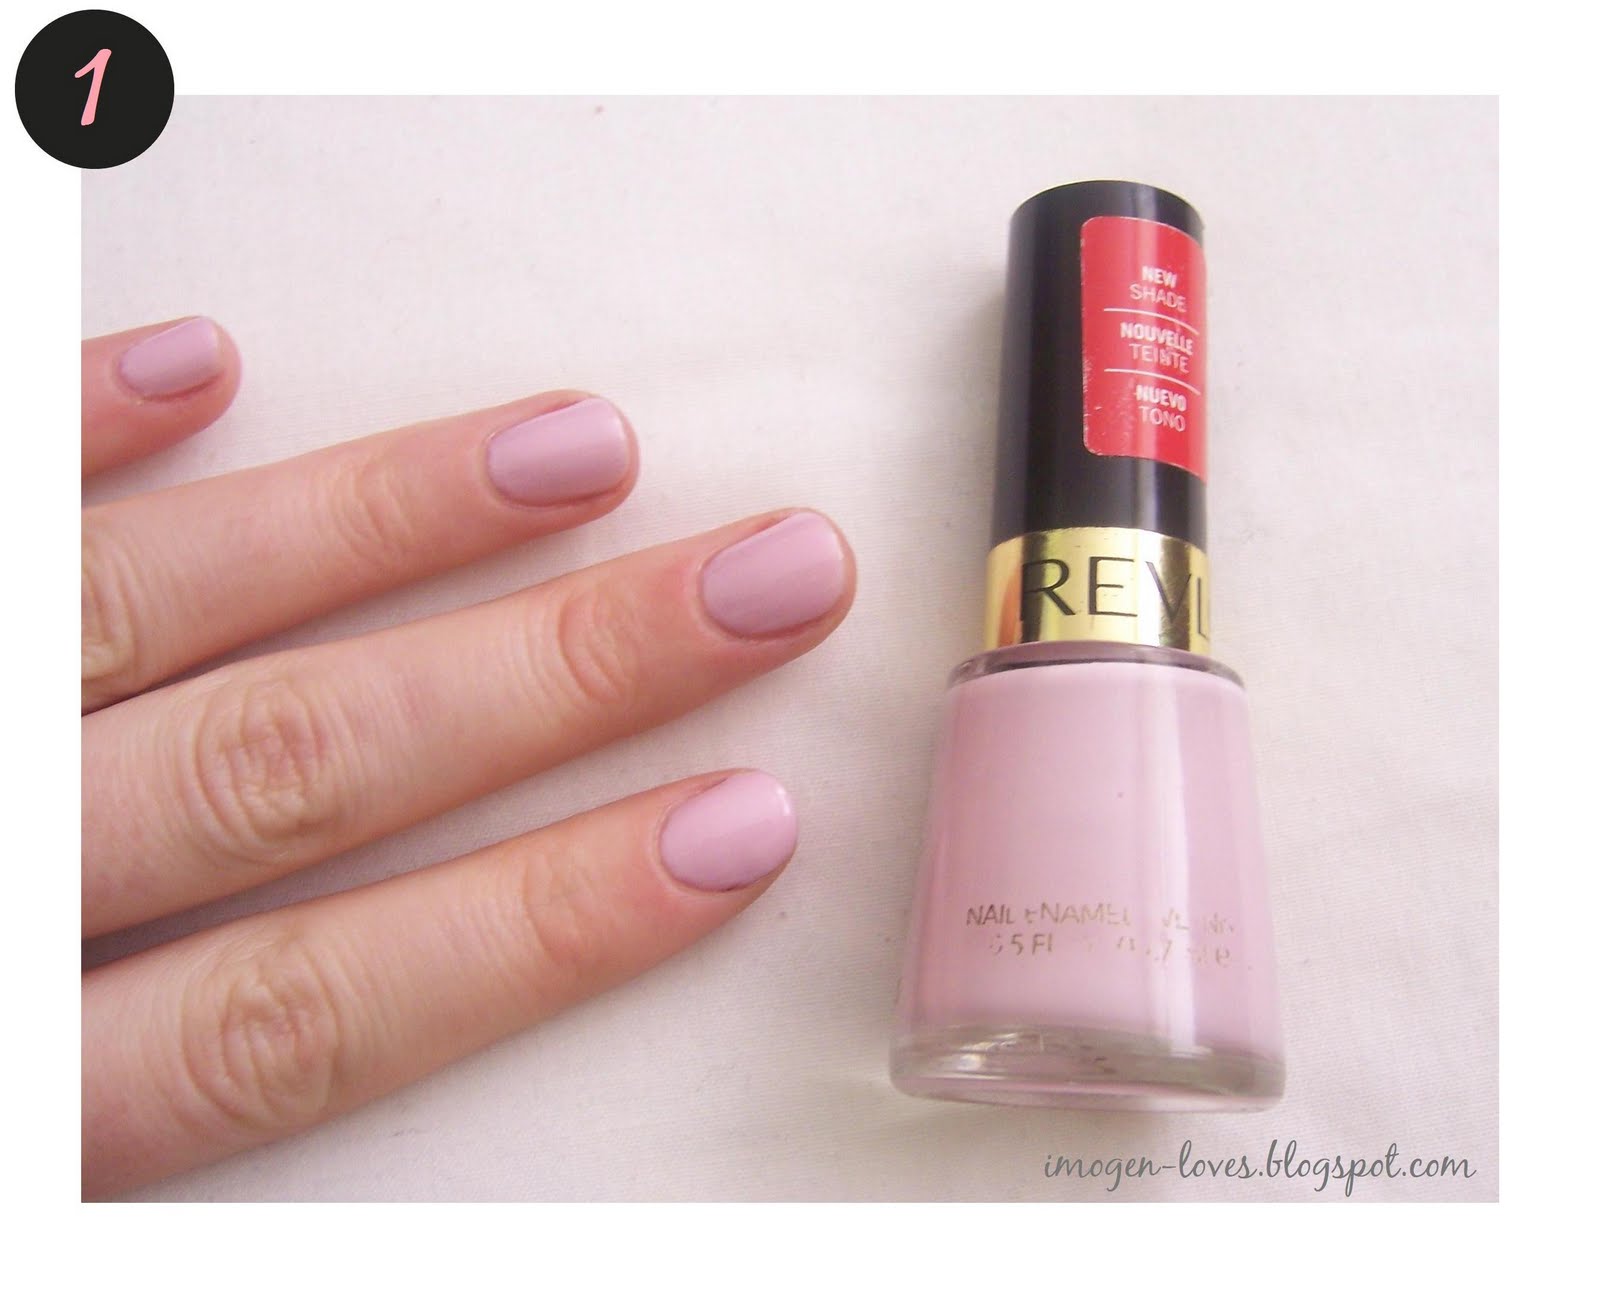
The first step is to simply paint your nails with the base colour. I used Revlon's Lilac Pastelle.

Once the base coat has dried completely draw a thin diagonal line with the nail art polish from the bottom corner to the opposite top corner.
Then continue to draw parallel thin lines to fill in the bottom section.

Next is to paint a diagonal line in the opposite direction and fill in the section section of the nail.
The final step is to fill in the top section of the nail with horizontal lines. Follow this with a clear top coat and you are done!

Here here we have the finished result. Trust me it's not too hard.
 If you love it, give it a go.


:)

Sunday, March 27, 2011

Nail tutorial - Gold & Silver Leopard


Seeing as I'm going through a bit of a leopard print phase I thought I would have a crack at gold and silver leopard print. I think it's kind of cute so I thought I would show everyone step by step how I did it.


So here is how I got this result...

It was surprisingly simple to do and I used; Ulta3 polish in Antique Copper, Ulta3 polish in Silver Grey, Seche Vite, Black nail art pen and a thin paintbrush.

I started of by applying 2 coats of the gold colour for the base & let it dry completely.

Then using the paintbrush I used the silver polish to paint small random spots & shapes on each nail. It was really hard to capture the silver on the gold but hopefully these pics give you the general idea.

Next I outlined the silver spots with the black nail art pen. I wasn't too fussed being to precise so I just roughly went around the edges. Once the nail pen dried I applied a coat of Seche Vite. Make sure the nail art pen is compelety dry or you will smudge it like me. Patience is not my strength!

And that is it. Done and done

 
Hope everyone is having a great weekend and doing very productive things like painting their nails!
:)


Sunday, February 27, 2011

Step by step NOTD


Hello lovely readers, 

This post was completely inspired by the gorgeous Saskia the Style Fairy. She did a post the other day showing her nails she got done at WAH Nails and I fell in love. I can't get enough of WAH Nails so thought I would give it a go at trying to recreate her fantastic nails. 

It's just a black matte nail with glossy black dots. It's not a brilliant job but i had fun doing it! 


If you're interested in how I did my (somewhat shonky) version keep reading...

All i used was a black nail polish, a matte top coat and a black nail art pen

I started off by applying the plain black polish. 

After that dried I applied one coat of the Rimmel Matte finish top coat. This is a new purchase and the first time I used it. It's pretty cool. Easy to apply and dried really quickly. Going to have fun with this product, especially in winter!

I then used my black nail art pen to draw on small dots. Alternatively you could use a clear top coat or polish (which would probably be easier) but I didn't have a paint brush to paint on small enough even dots so I just used the pen. 

Wait for it to dry and that is it. Super easy and pretty nice if you ask me :)


xx